A fair question landed on us more than once while we were making these: surely a reverb is just a reverb, and Ableton already has one, so why build four more? It is a reasonable thing to ask, and the honest answer is not the one you might expect. It is not that Ableton's reverb sounds bad. It is that the reverb was never the slow part.
The slow part is everything you do around it. After the thousandth time building the same rack, a reverb with an EQ after it, a couple of controls mapped, saved and recalled and rebuilt because the saved one was not quite right for this track, you start to realise the friction is not in the sound. It is in the assembly. These four devices exist to delete the assembly.
What they actually are
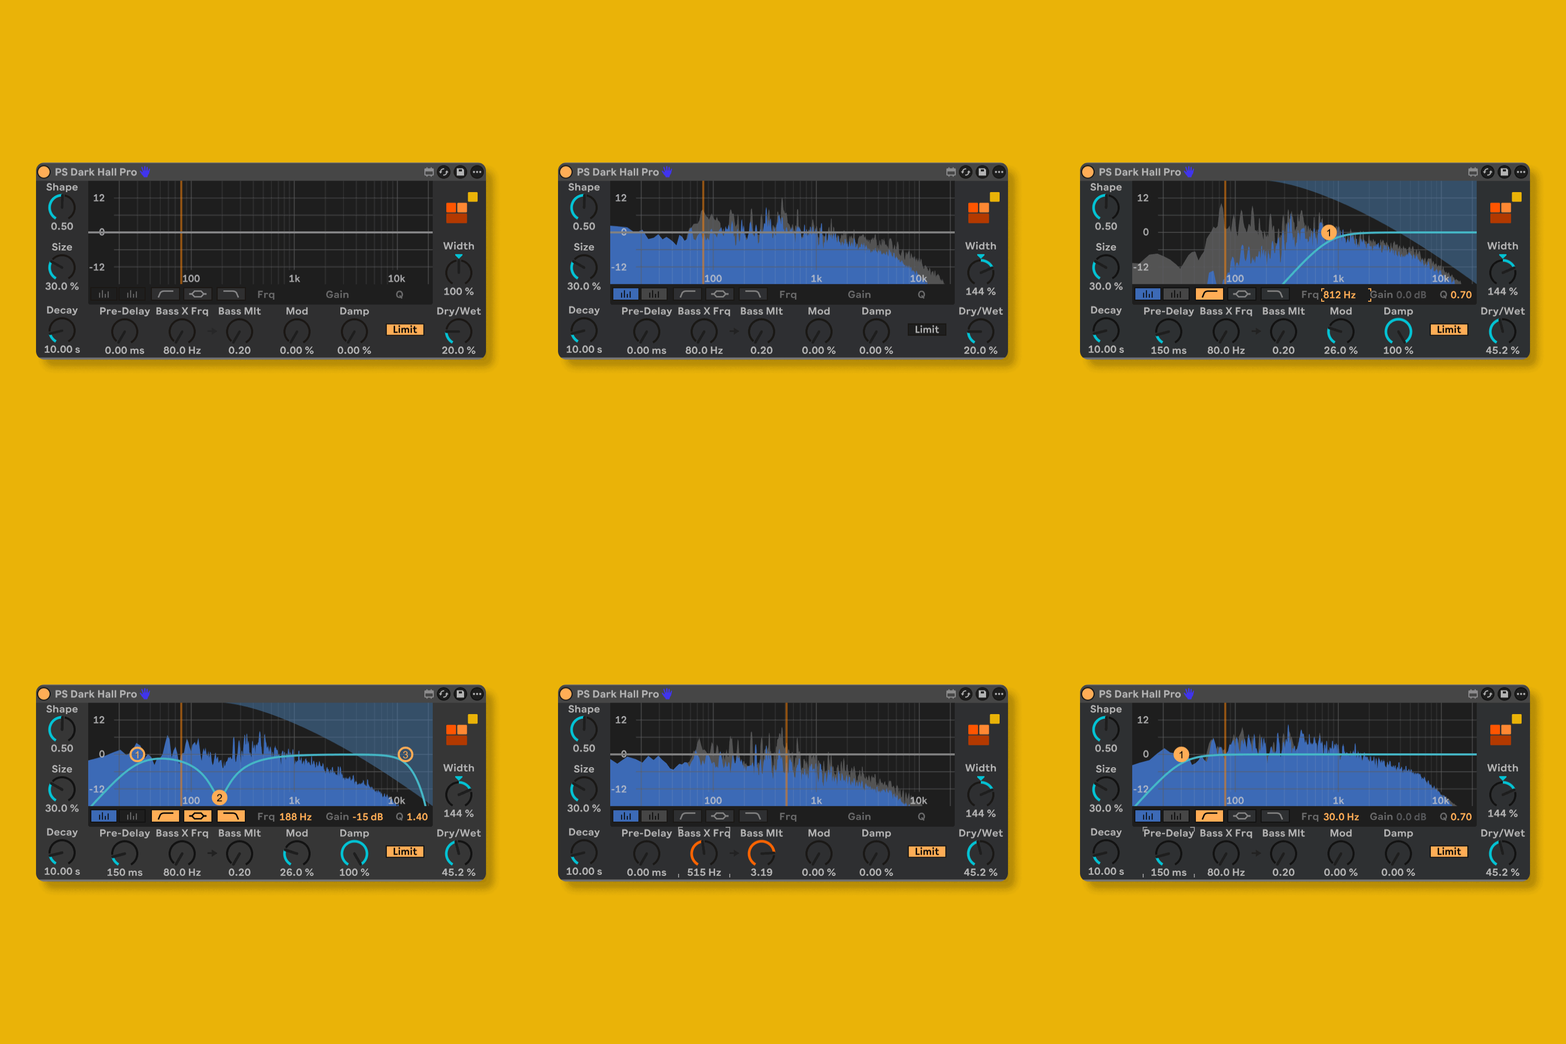
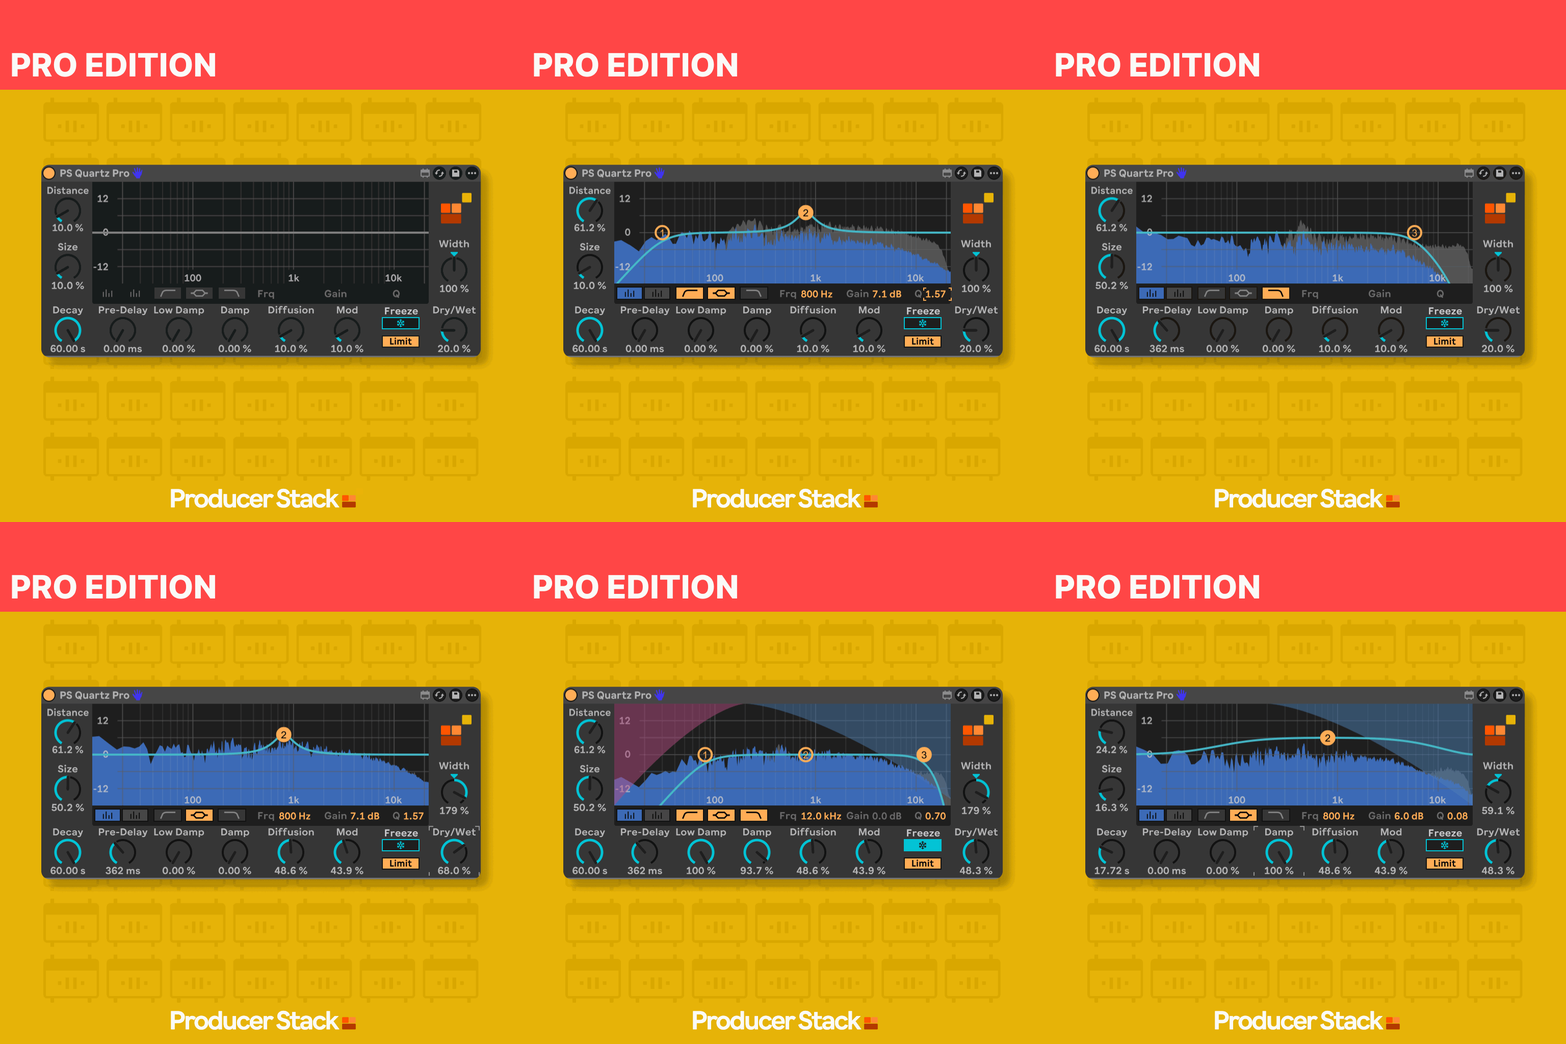
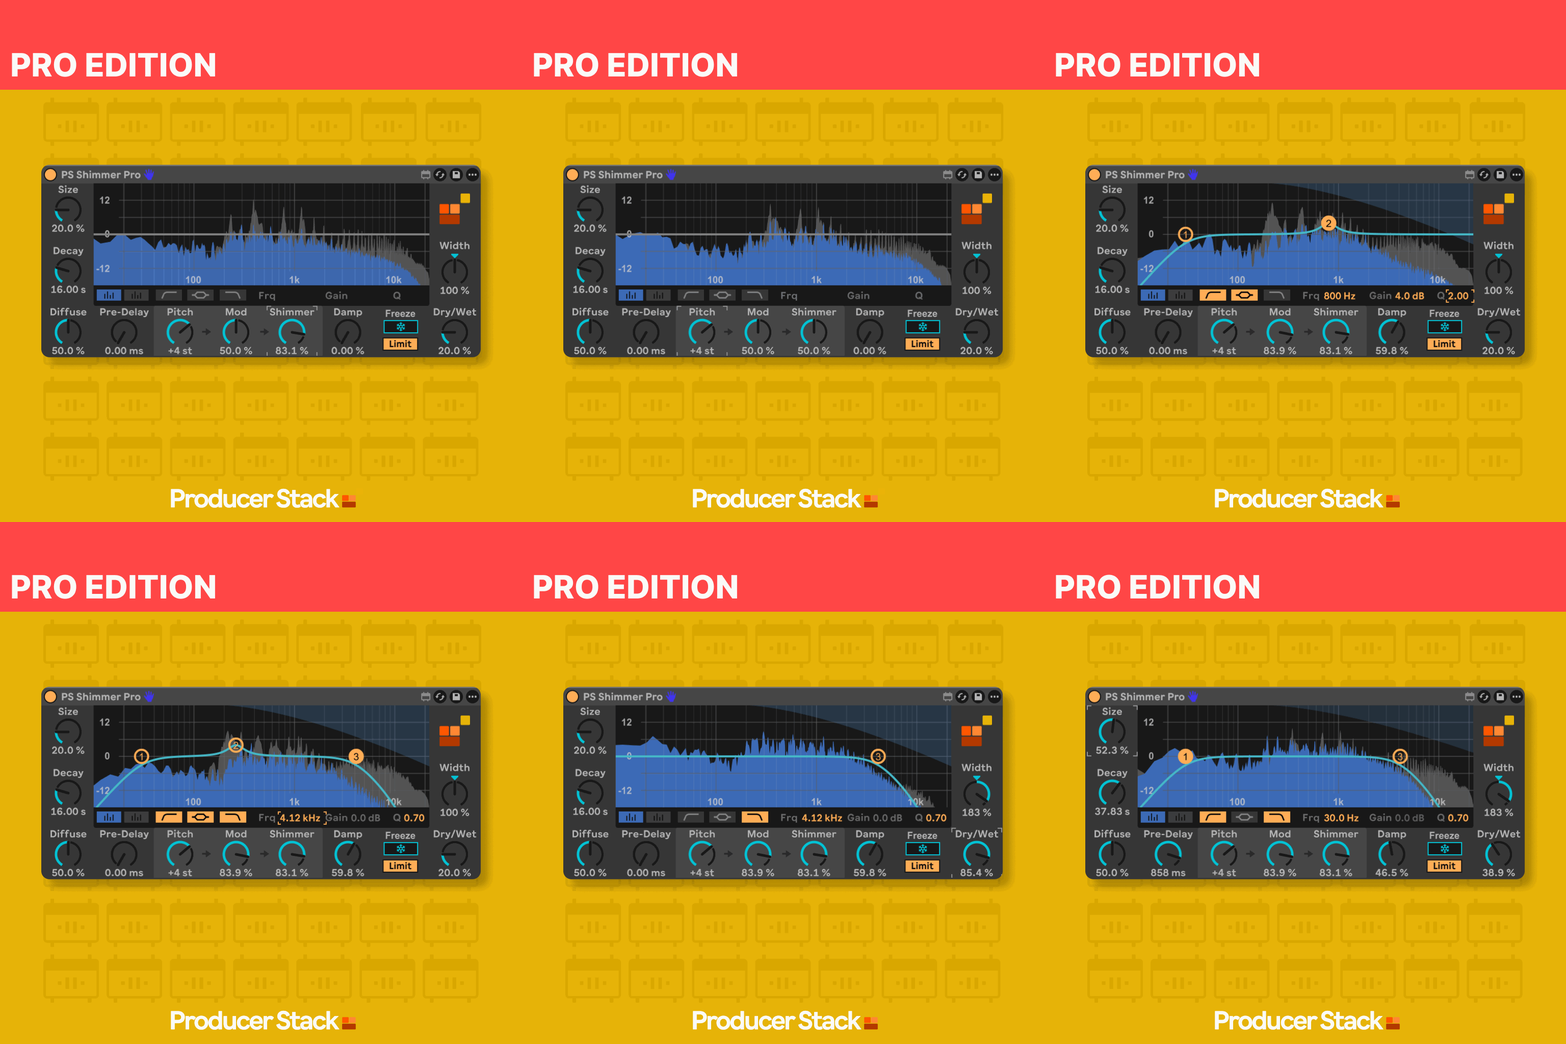
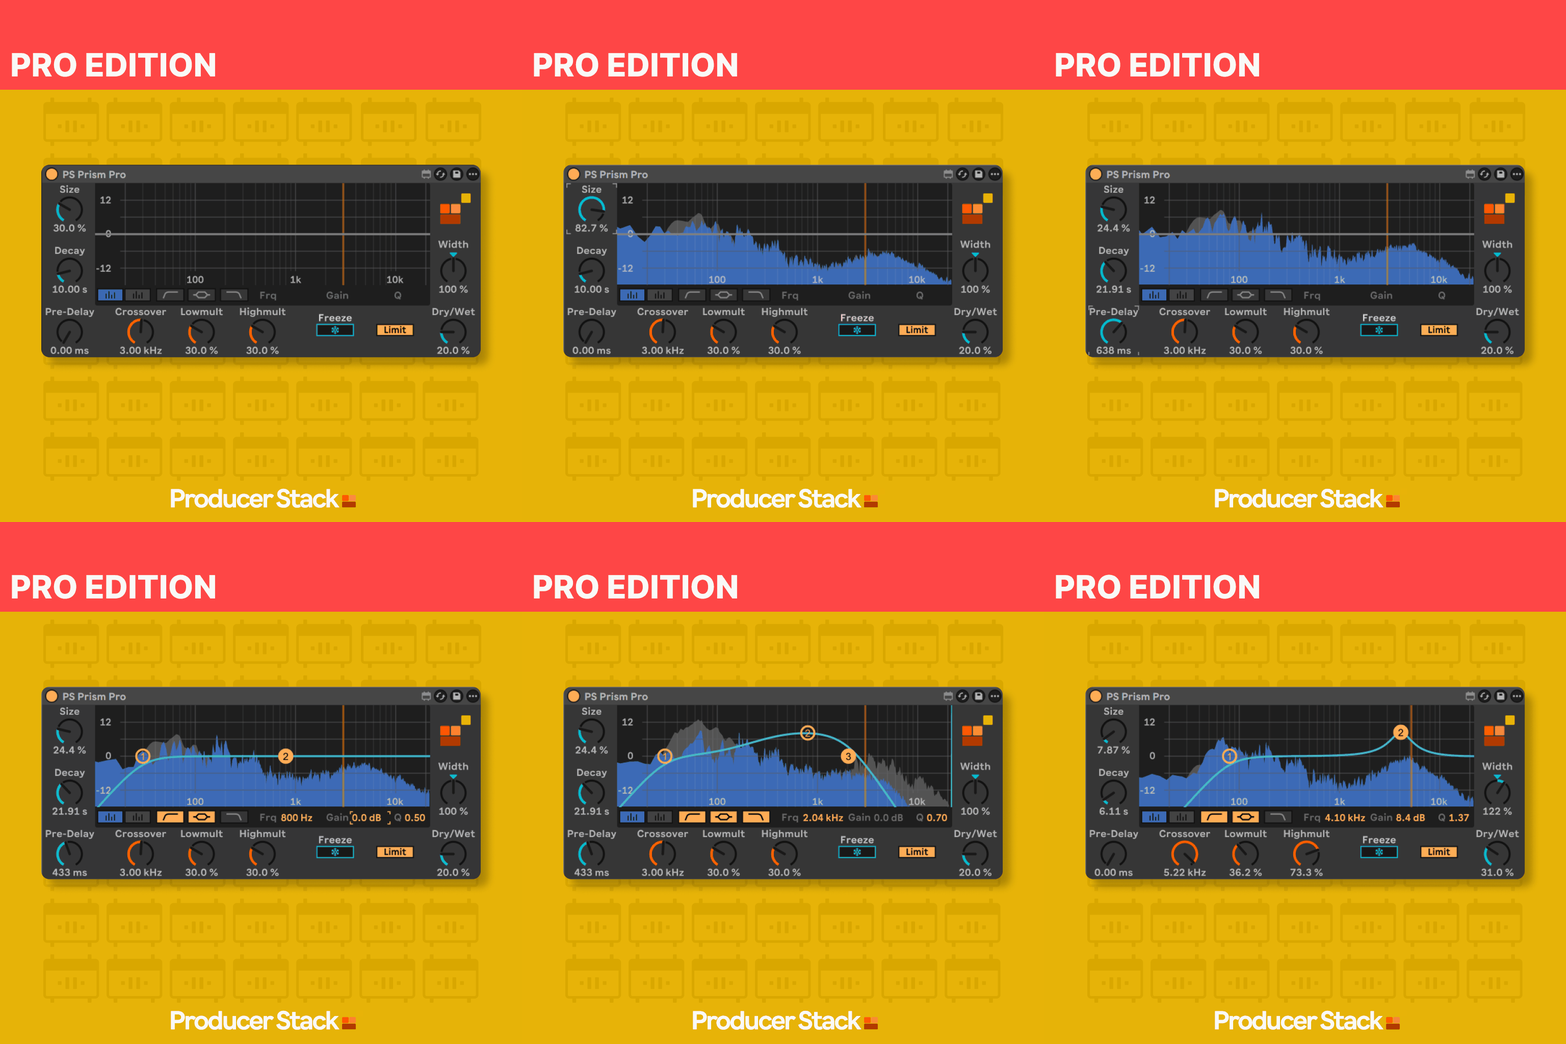
Each of the four wraps Ableton's own reverb engine, the DSP you already trust, inside a Max for Live device with the tools you always end up adding already built in. The most important of those is a graphical EQ, drawn into the interface so you can see and shape the tone of the reverb tail without loading a separate EQ Eight on the end and dialling it by ear.
That is the part that quietly saves the most time. Almost nobody uses a reverb completely raw. You nearly always want to roll off the low end so the tail does not muddy the track, and often tame a harsh band or lift some air. Normally that means reverb, then EQ, then mapping a few macros, then saving the lot as a rack. Here it is one device, with the EQ in front of you, doing the job you were going to do anyway.
Why four, and not one device with a menu
This is the bit that took us a while to get right, and it is the real argument for the set. We could have built a single reverb with a dropdown to pick the algorithm. We deliberately did not. We made them separate, searchable devices on purpose.
When you are deep in a track, the thought in your head is rarely "I need a reverb." It is specific. "I want this to sit in a dark, cold space." "I want a shimmer on this pad." "I want the tails to decay differently across the frequency range." The moment you can type that intent into Ableton's browser and have the right device come straight up, you are working at the speed of the idea. Four named devices means you search for the sound you are imagining and land on it. One device with a hidden menu means you load a generic thing and then go looking inside it, which is exactly the friction we were trying to remove.
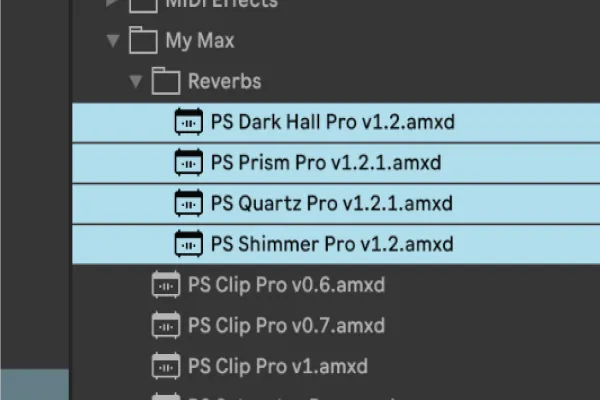
So the four are not four versions of the same product padded out. They are four intents, each turned into a tool you can reach for by name:
Dark Hall is for putting a sound into a large, dark, controllable space, with the low end of the tail under your control so it never washes the track out.
Quartz shapes reverb tails with dual damping, so you can decide how the high and low ends of the tail decay independently.
Shimmer adds pitch-shifted reverb tails, the rising, harmonic wash that lifts pads and gives a sound a sense of height.
Prism sets a different decay per frequency band, so the tail does not all fade at once. The lows can hang while the highs disappear, or the reverse.
The honest part
I will be straight about where these came from, because it is the most useful thing I can tell you about them. They are, partly, a selfish build. While working, I kept doing the same repeated moves, reaching for the same reverb-and-EQ combination, rebuilding it, saving it, never being quite happy with the saved version. These are simply the fastest way I found to stop doing that. They do the dance job you actually need a reverb to do, with the controls you would always add already in place, reachable by name in a second.
That is the entire pitch. Not better reverb than Ableton, which is the wrong thing to fight about. Less time between wanting a sound in a space and hearing it there.
How to work with them
Treat them as first-reach devices, not special-occasion ones. The whole value is in the speed, so use them where you would previously have built a rack: a quick dark space on a stab, a shimmer on a held pad, frequency-dependent decay on a snare tail. Because they are light and named for intent, there is no reason to ration them.

And when you find a setting you love on a particular reverb, you can still save it as a preset. The difference is you are saving one device, not reassembling a five-part rack to get back to it.
Where these fit
Dark Hall, Quartz, Shimmer and Prism are four Max for Live reverbs for Ableton Live, each built around Ableton's own reverb engine with a graphical EQ and the controls you always add already inside, searchable by name so you reach the sound you are imagining without building anything. They come out of the same habit as the rest of what we make: spot the move you do a hundred times a session, and turn it into one device. If that idea appeals, the piece on building VCA groups in Ableton is cut from the same cloth.